EverDoc Templates Overview
What is a Template?
Templates are custom-built document form types, created and enabled by agency Executive roles. Executives can utilize the Template Builder to access a Drag & Drop interface. Allowing Executives to access Template Elements and modify the criteria of each setting. After they Save & Enable a template, it becomes an available document agency users can utilize for daily or special operations.
Understanding Templates
How to Create a New Template:
Is not currently available on the mobile app. For best results you will want to create new Templates on a desktop browser. Preferably using Chrome, Safari, or Mozilla...
Must have Executive Role in the agency to access Template features!
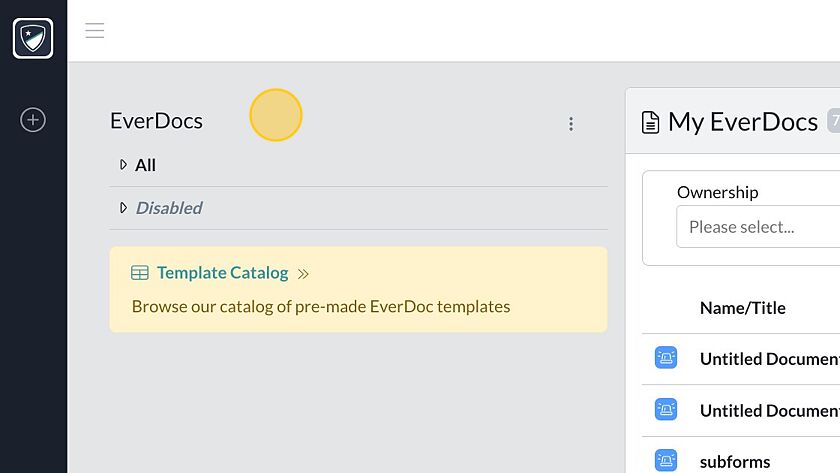
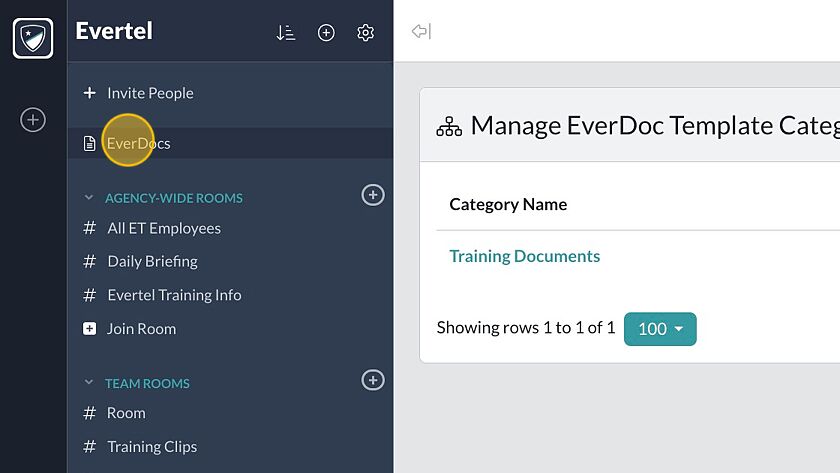
- Go to EverDocs in your left-side navigation pane.
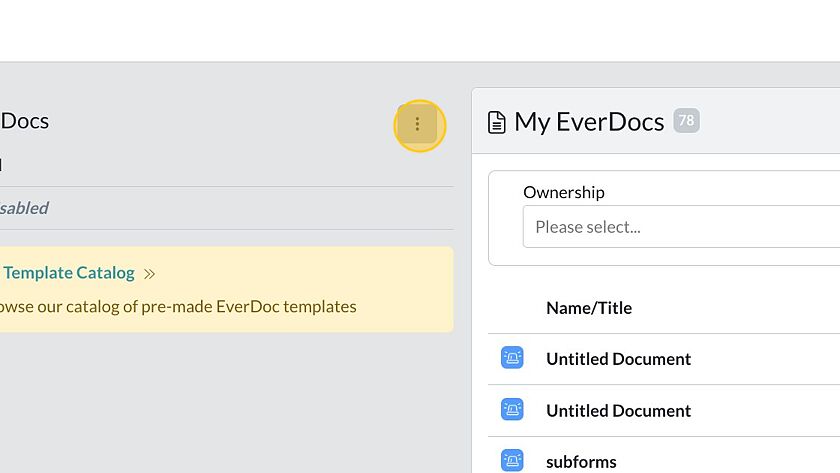
- At the top, next to “EverDocs”, click on

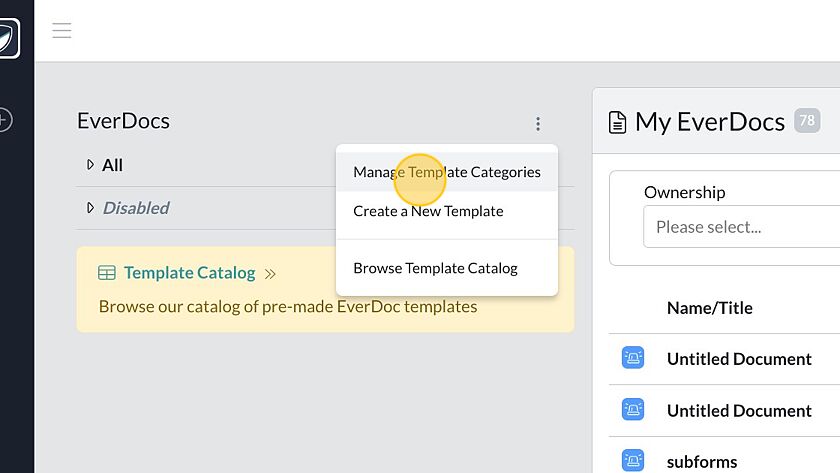
- Select “Create a new template” in the dropdown (click image to preview):

- You can now view the Template Builder (click image to preview):

- Start by clicking “Untitled EverDoc” at the top. Enter a name you want for a specific document type.
- Drag & Drop the Template Elements (options listed on the right) into the white space to the left side of the screen.
- Edit Element details.
- Save progress, by clicking “Save” in the top right.
It is important to Save and Enable your templates. Saving allows you to keep any edits or progress you have built in your Template. Enabling allows you make the template available to all agency users. To do so…
- Ensure to save your progress building or editing a template, simply click
 in the top right.
 - Then tap the carrot to open the
 dropdown (see image):
- Select “Enable” to make the Template available to your agency users (repeat to Disable).
NOTE: You can also go to the the Template  tab when you are in the editing view. To enable/disable in the the Settings, turn on the
  toggle (toggle again to Disable).
- Go to EverDocs in your left-side navigation pane.
- At the top, next to “EverDocs”, click on

- Select “Create a new template” in the dropdown (click image to preview):

- You can now view the Template Editor (click image to preview):

- Edit the Elements and/or Element Details.
- Save progress & changes, by clicking “Save” in the top right.
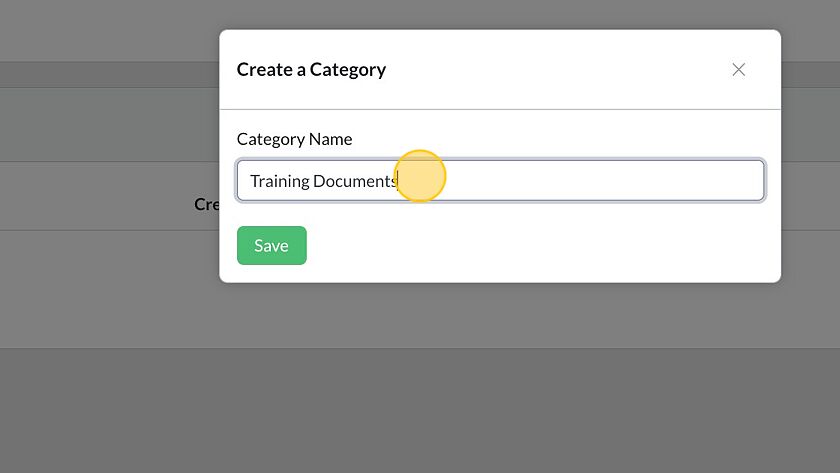
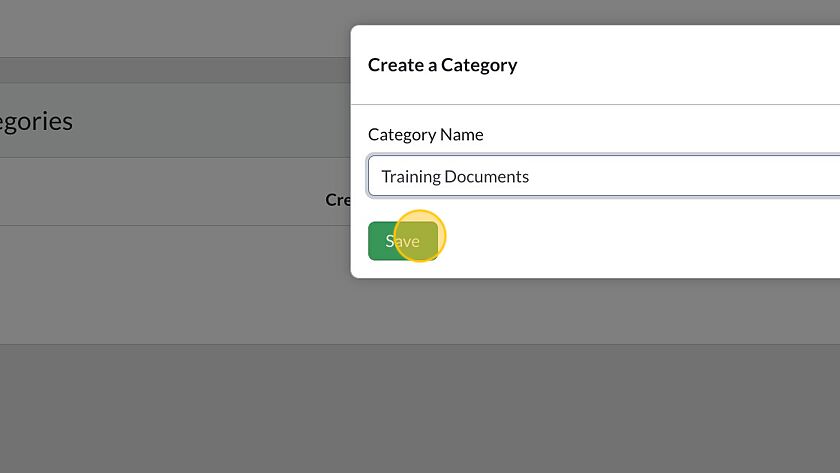
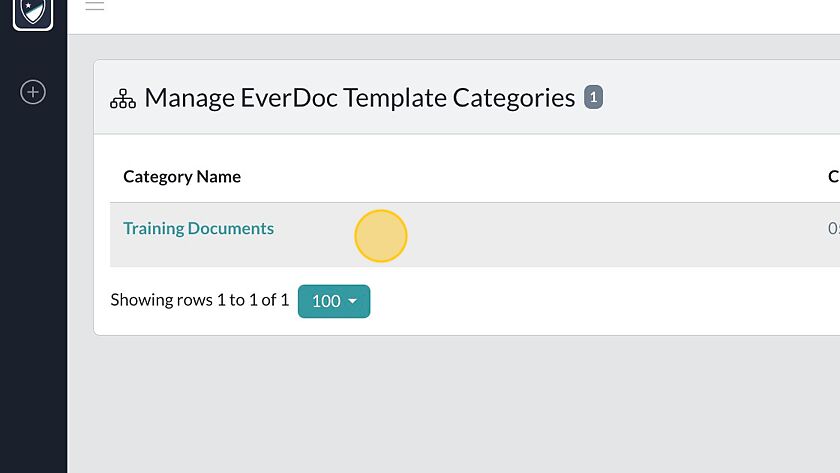
To organize templates/document types, you can always utilize Template Categories. Assigning different templates to one or more categories. This makes it easier for your agency users with access to create documents, to search and view the EverDocs needed for any daily or special-task operations.
- Start by creating a new template, or editing an existing one.
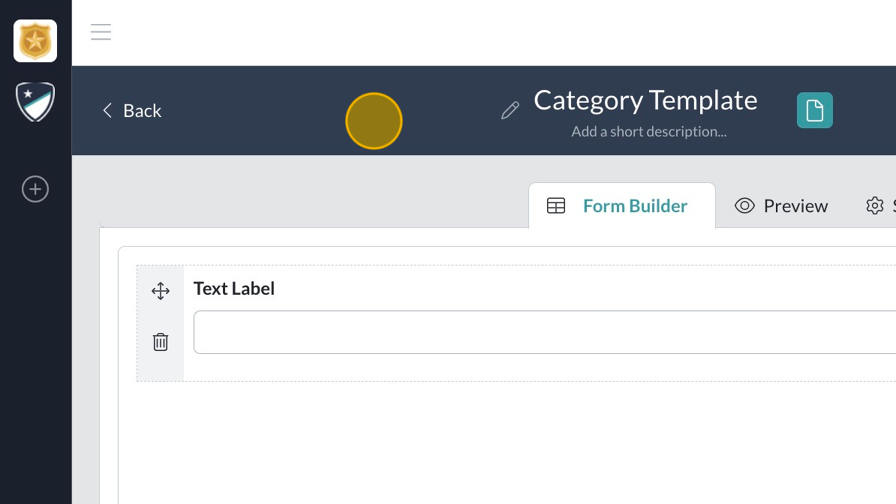
- In the Template Builder, go to the “Settings” tab.
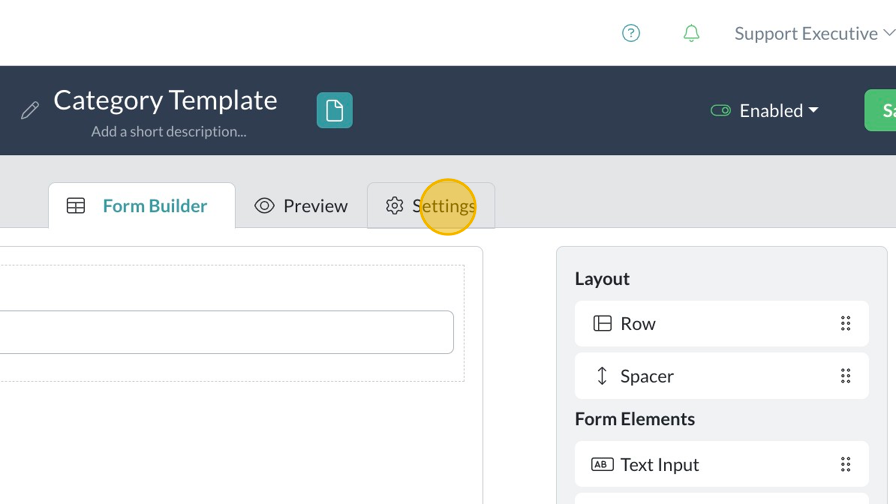
- To the right, open the Categories dropdown to select the category you wish to save the template.

- Click “Save” when you are ready.
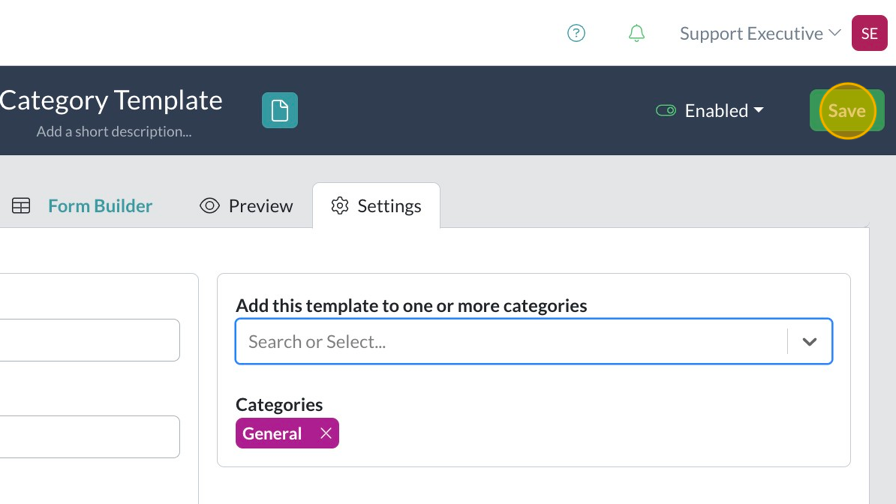
Please Note: If this is a new template; ensure to Enable the template before selecting a Category.
Understanding Template Elements:
Text Label is a free-form text field. You can insert this field for the agency to enter text for time,
identifying individuals, or providing a description… you can:
- Make it a long text/paragraph
- Can specify content type, so only that kind of information is valid
- Numbers/Digits,
- Links/URLs,
- Emails
- Phone Numbers
Dropdown allows executives to input options users can select when creating a new document.
*the “value” is required for the for to work; it should auto-fill when you enter an option.
Checkbox can be used to confirm specified criteria. You can add a simple yes, or add more options for users to check off. You may also allow multiple selections with the “allow more than one selection” toggle (see below).
Date element allows users to select a date in a drop-down calendar. As an example, two Date elements can be put in the same layout Row to allow users to select a “From Date” and a “To Date”…
File Upload gives users the ability to import media.
As a Template creator, you can select specific criteria when the template is enabled as a document type:
- make the field required
- allow/disallow more than one file for upload
- only allow specific file types
- images
- videos
- audio
- files/documents
Please Note: if you select a specified criteria, the other files will not be compatible when users are creating the document from the template.
 How to Create/Edit a Sub Form element:
- Go to “Create a New Template”… or clone an existing template to select “edit template” for the new cloned document-type.
- Drag & Drop the “Sub Form” element into the builder.

- To add elements within the Sub Form element, you can hover over the element…
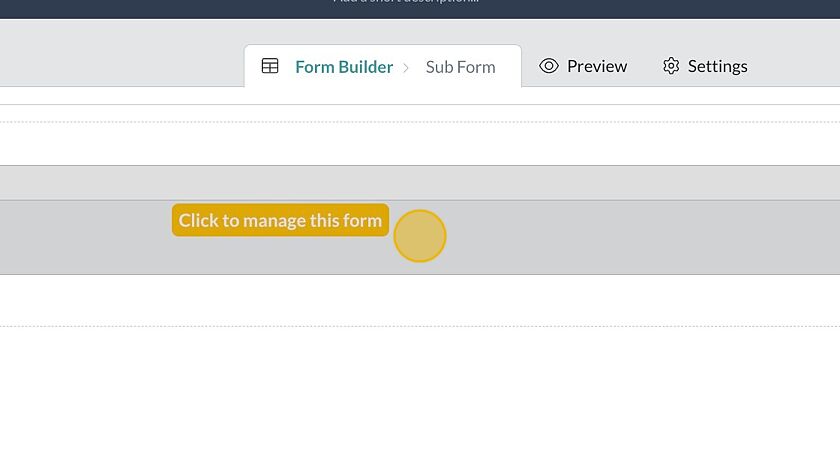
- …OR you can start by entering the Sub Form details view, then select “Edit Form Fields”.

- Start adding elements and element details within the Sub Form.
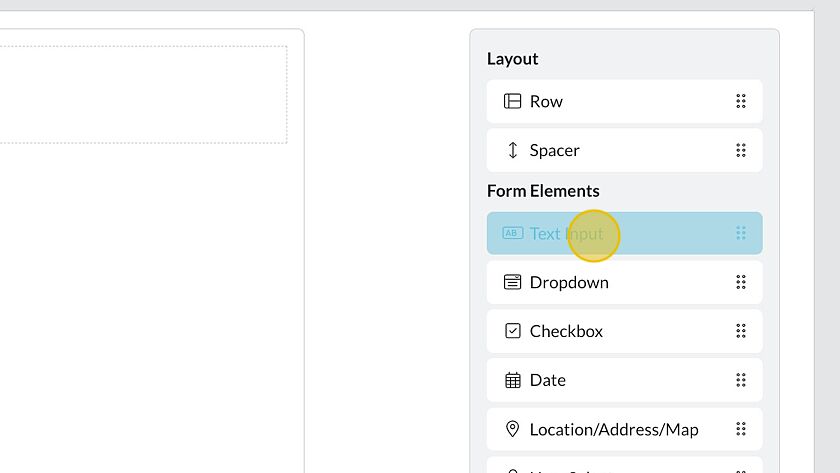
- Go back to the “Form Builder” tab, then click the edit pencil icon to add a label and description for your Sub Form element.

- Go the ‘Preview’ tab to view the Sub Form in action.


