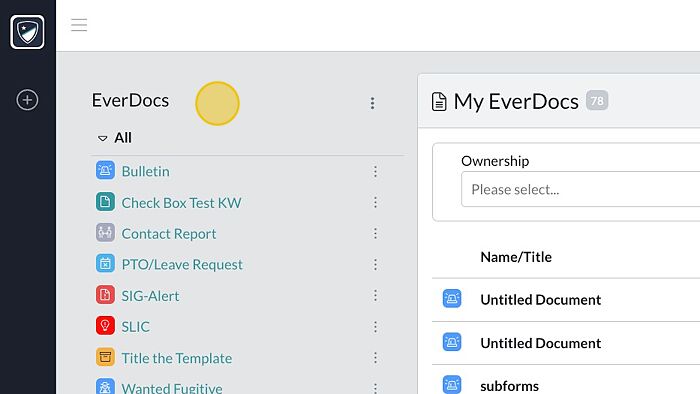
Everdocs provides templates to be created and shared within Evertel. All Documents will be located in EverDocs (see image below).

With an Executive and Management role you can:
- Create EverDoc Templates
- Edit Everdoc Templates
- Create Template Categories to Organize your agency document types
- Enable/Disable Templates
- Or select templates from the Template Catalog
All Roles (users within primary agencies, not guests*) can:
- Create a Document (requires a primary agency- users can only create forms they have access to in their own primary agency; especially as a room guest).
- Share a Document to Rooms (even if room is ‘read only’).
- Edit a Document (from the EverDocs directory or from the Room it is shared).
Create a New Document
Share a Document
Edit a Document
Create a New Document
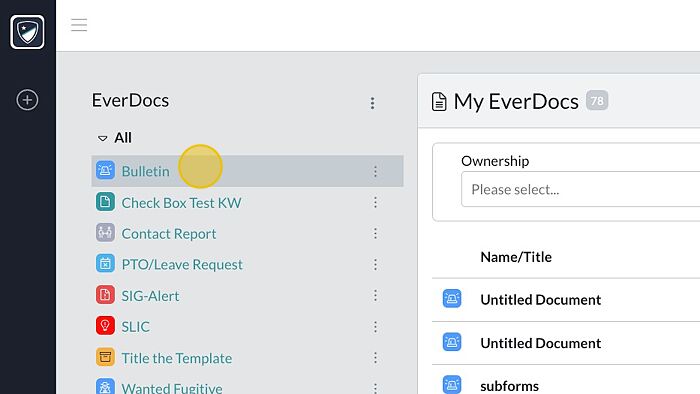
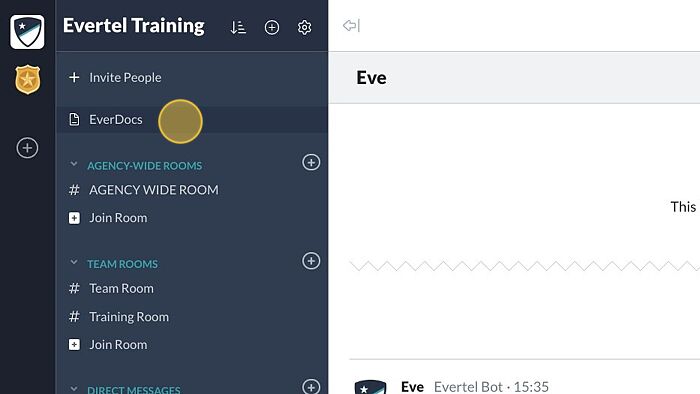
- Go to “EverDocs”
- Select the document type you need.
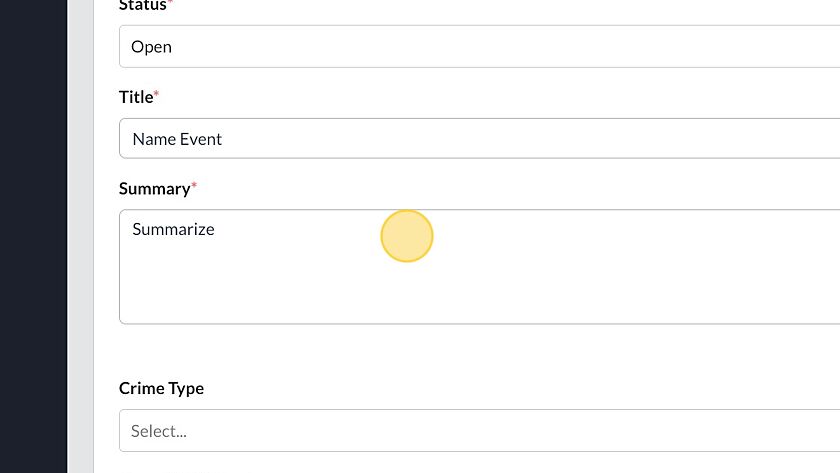
- Title the Document.
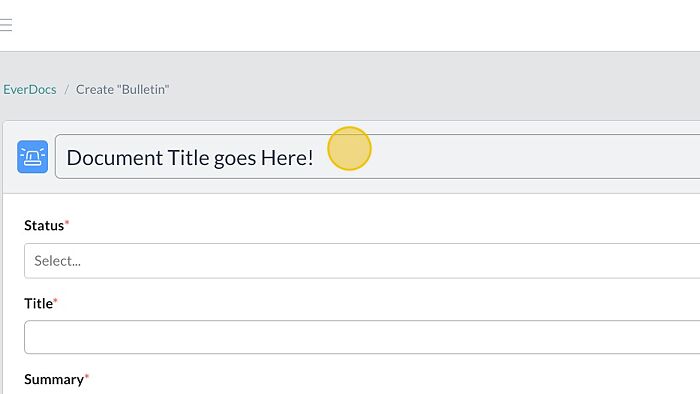
- Fill all required fields (marked with a red asterisk).

- Select the Case Contact (if applicable).

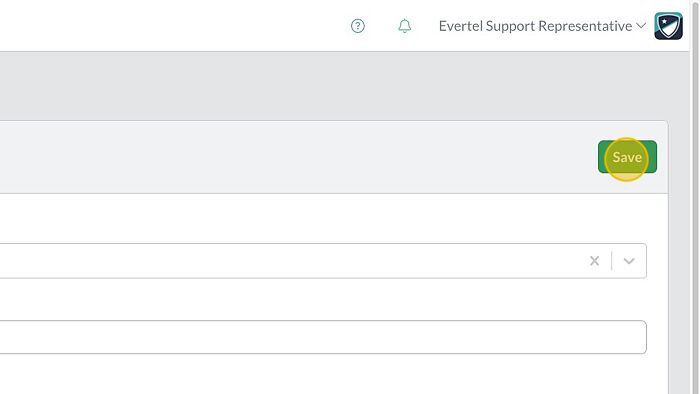
- Click “Save” when you are ready!
Share a Document
- Create an EverDoc.
- Click “Share” in the top right.
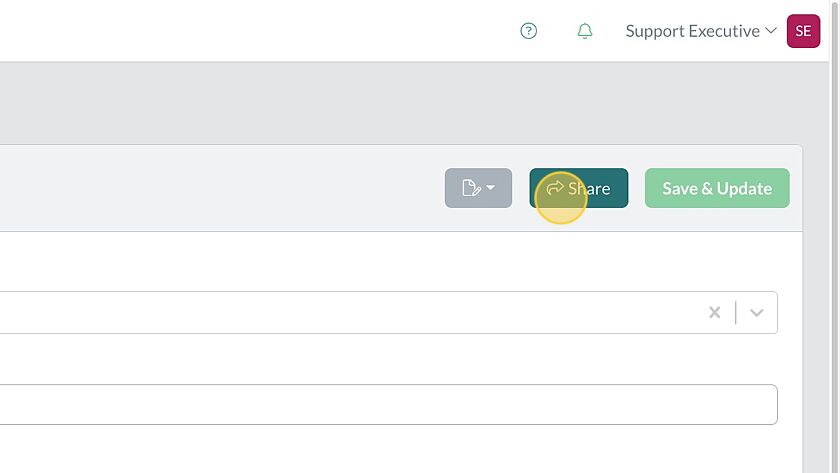
- Open the ‘Add Rooms’ dropdown to search and select the room.

- Click the ‘Edit’ arrow to set your document permissions for that room.

- Hit “Share” when you are ready!
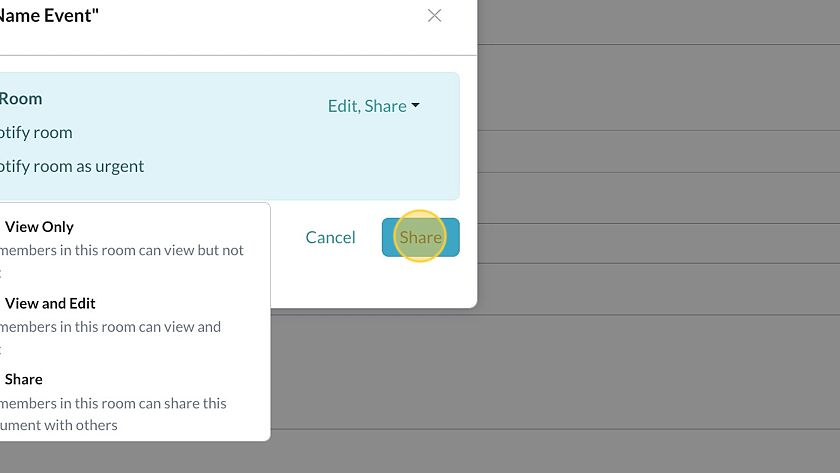
Note: Each room can have its own permissions
Edit a Document
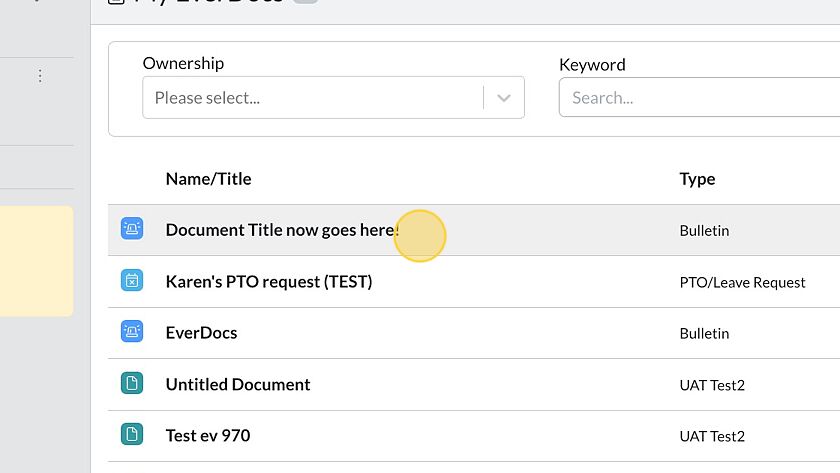
- Click “EverDocs”

- Select the document you want to edit.
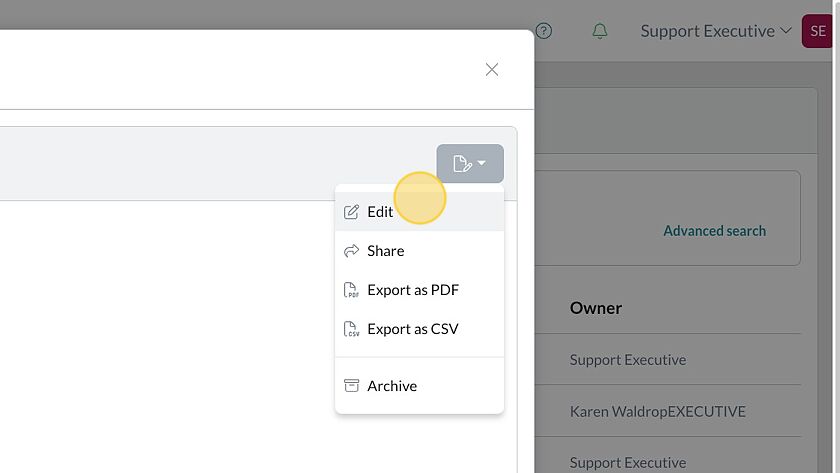
- Open the document options.

- Select “Edit” to change document details.
- Enter your edits in any field.
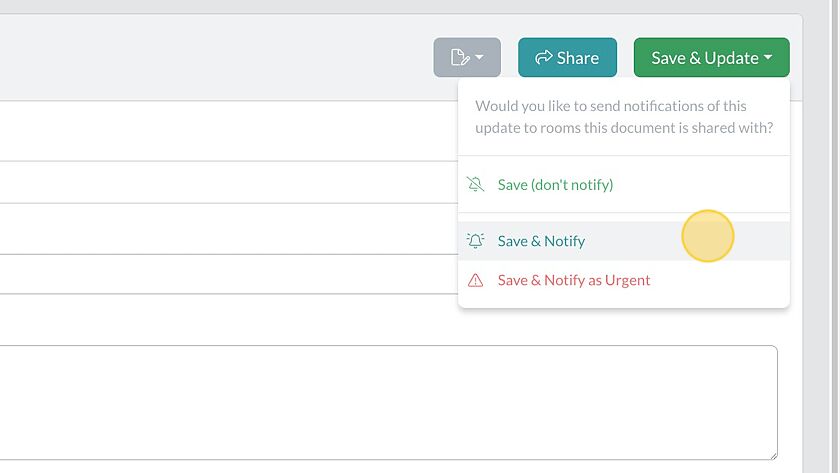
- In the top left, click Save & Update for save options.

- Select “Save & Notify” or “Save & Notify as Urgent” to notify the room of the update. Or you may select “Save (don’t notify)”
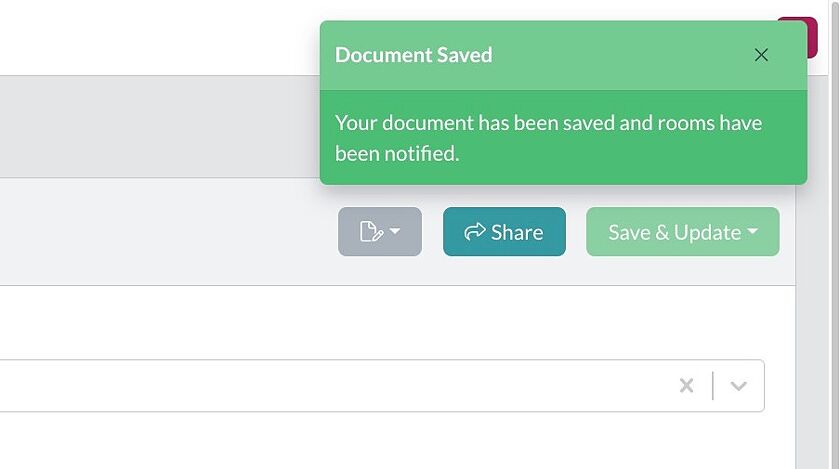
- Your document edits have been saved and the room(s) have been notified.
Create a New Document
Share a Document
Edit a Document
Create a New Document
- Go to “EverDocs” on Mobile
- Tap the
 icon, top right, to view your available document types.
 - Select the type you want.
- Title your Document, by tapping the
 text at the very top.
 - Fill any required fields in the rest of the document details.
- Tap
 (top right) when you are ready.
Share a Document
- Create an EverDoc.
- Tap
 in the the top right of the document.
 - Select
 .
. - Tap the
 (top right) to open the Room search and select menu.
 - Select a Room and hit

- Select the “Share & Notify” notification type you prefer:

- Click the “X” icon
- Select “Don’t Save” if you do not want a second room notification to the room.
Note: If you do hit save, please select “Save (don’t notify)” to avoid sending a second room notification: 
Note: Each room can have its own permissions set, when you select the room (step 5).
Edit a Document
- In a room, long-press the document you want to edit.
- Tap Edit (yellow icon) to begin:

- Enter your edits in any field.
- In the top left, click Save & Update for save options.
- Select “Save & Notify” or “Save & Notify as Urgent” to notify the room of the update. Or you may select “Save (don’t notify)”
- Your document edits have been saved and the room(s) have been notified.


'Created by Me' on Web
'Created by Me' on Mobile
'Created by Me' on Web
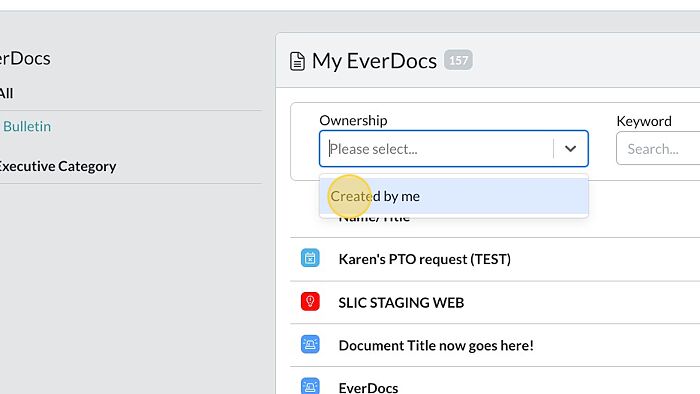
- Click “EverDocs”in your left side navigation pane.
- Open the “Ownership” dropdown.

- Select “Created by me” to view all documents created by you.
'Created by Me' on Mobile
- In the app, go to “EverDocs”
- Tap the magnifying glass icon in the top right
- Tap “Created by Me” to view all documents created/owned by you.
